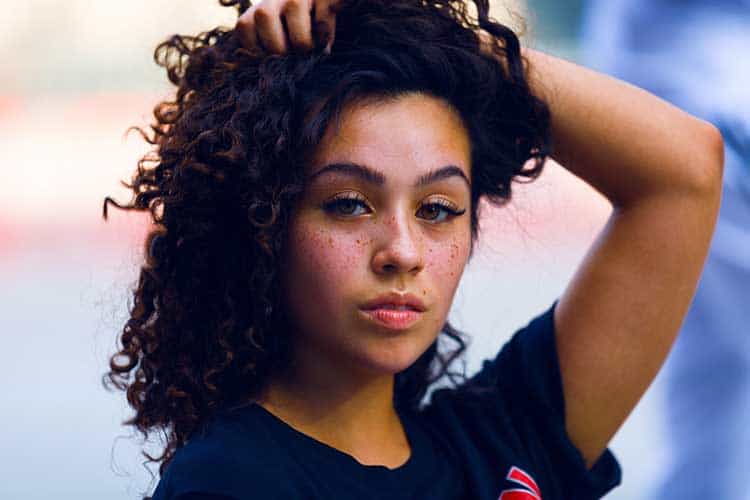
So many people we know purchased their first camera and lenses to take portraits. Portrait photography is one of the most popular types of photography, but it’s also one of the most misunderstood. Beginners can quickly get discouraged by lack-luster images without knowing some basics of how to take good portraits.
What are the basics of portrait photography for beginners? The step-by-step guide below will cover buying the right equipment for portraits, how to do the right preparation before you shoot, the camera settings for great portraits, and the best post-processing techniques for portrait photography. By spending some time learning about the basics for beginners, you’ll be well on your way to taking the perfect portraits.
Contents
Buying Camera Gear for Portrait Photography
If you’re just researching portrait photography, but haven’t made any gear choices yet, you’ve come to the right place. Below you’ll find some tips on buying the best cameras, lenses, and accessories to take terrific portraits.
Cameras
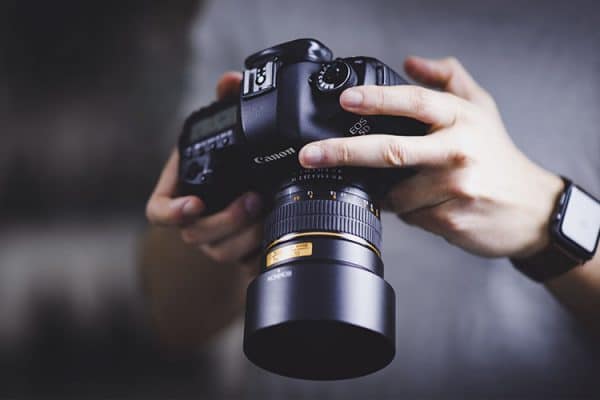
One of the common mistakes we see beginners make is rushing out to buy the most expensive camera or searching online for ‘camera for a professional photographer.’ There are no gold-standards for portrait cameras, and professionals use all different brands and models of cameras depending on the location and type of portraits you take. While mirrorless cameras have become popular for beginning portrait photographers, in the end a DSLR offers the most features and flexibility when it comes to learning the basics of portrait photography. This article assumes you’ll be shooting portraits with a DSLR.
For most beginners choosing a camera is about balancing size, weight & budget. You always want to make sure you can capture the best quality image with the most affordable gear. If you know you’ll be taking outdoor portraits, you may want to consider paying a bit more for lightweight gear. If you’ll be taking indoor studio portraits, you may want to consider a camera that is wi-fi enabled to make previewing your images quick and simple.
Before you begin camera shopping, it’s always important to set a budget. It’s easy to get attracted to the extra features of more expensive cameras once they are in front of you. It’s also easy to spend your entire budget on the camera body and not leave enough for lenses and accessories that can boost the quality of your photos. Make sure you budget for the camera body and everything else you need.
Lenses
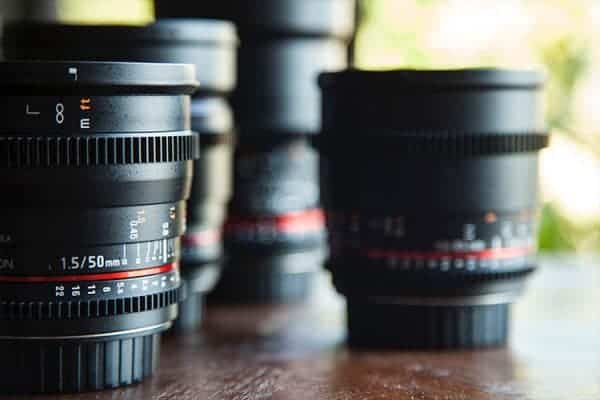
The next big choice you’ll need to make as a beginning portrait photographer is the types of lenses you plan to shoot with. As you learn more about portraits, you’ll get a sense of what lenses work the best in which portrait settings, but to begin you’ll want to bring a mix of prime and zoom lenses.
The Best Prime Lenses for Portraits – While the kit lenses make work okay for some portraits, there are a few prime lenses you will want to consider to elevate your images. Prime lenses have wider maximum apertures (see below for why apertures are so important in portrait photography) and provide tack-sharp focus that is a highlight of good portraits.
The two prime focal lengths beginners should consider for portraits are 50 mm and 85 mm. 50 mm lenses are perfect for full-length and waist-level portraits. It works well for outdoor and indoor portrait sessions. 85 mm lenses are the most popular prime focal length for portraits. It’s well-suited for knee-level and above portraits, as well as indoor and outdoor photos. The 85 mm is more expensive than a 50 mm, which is why many beginners start there.
The Best Zoom Lenses for Portraits
While prime lenses are more popular for shooting portraits, zoom lenses allow you to more easily change the distance from your subject and get close to the subject without becoming a space-invader. When it comes to choosing a zoom lens, we recommend a 70-200 mm f/2.8 lens. Many professional portrait photographers carry this one in their camera bag when shooting with a zoom lens because it offers a good range of focal lengths and produces flattering facial features on most subjects with limited distortion.
Wide Angle Lenses for Portraits As you gain more experience shooting portraits, you may decide to experiment with a wide-angle lens. Wide-angle lenses offer a unique perspective, getting you up close with your subject while projecting more of the background and context around them. Wide-angle lenses are less popular with portraits though, because they can distort the subject and take a less-than-flattering image. You’ll want to experiment with a wide-angle lens and decide what is the best way to capture the scene and story you aim to tell.
Other Equipment You’ll Need
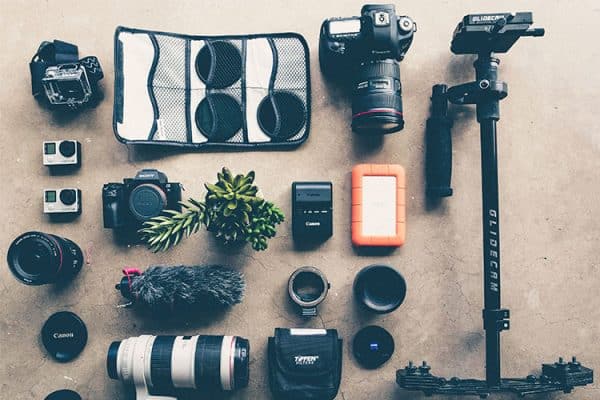
As mentioned above, it’s not always necessary to purchase thousands of dollars of expensive camera gear in order to take a good portrait. However, if you’ve gotten some experience with portraits and are looking to invest in some extra equipment to elevate your photos, consider purchasing these:
- Backdrops – There are hundreds of different options for backdrops, including fabric, paper, portable, and DIY. While a studio photographer may choose to invest in a variety of different backdrops, it’s not necessary to spend thousands of dollars for what’s behind your subject. Sometimes a simple bed sheet stretched over a frame is all you need for a good studio setting.
- Lighting Equipment – It’s important to know the different flash options that are available for your particular camera model. On-camera flashes and off-camera flashes come in multiple different styles, brands, and price points. Do some research (and set a budget) on what flash will offer the most use for the type of portraits you plan to shoot.
- Light Modifiers – Rarely will you end up with the perfect lighting conditions for your portrait session. Softboxes, umbrellas, scrims, and reflectors are all tools you can add to your camera accessory toolbox to help you enhance the available light as much as possible.
- Neutral Density Filters – One of the most common lens filters used in portrait photography is a neutral density filter. It can help portraits look more natural and still provide good sharpness and anti-reflectivity. You may also want to consider a polarizing or UV filter if you plan to shoot outdoors.
- Tripod – Portrait photographers tend to rely on their tripod more than other types of photography. It’s an essential part of your camera equipment and you’ll want to make sure you invest in a quality tripod. Look for a model that is easy to adjust, lightweight, and built to hold the total weight of your camera and your heaviest lens.
What to Do Before a Portrait Session

Professional portrait photographers will always attest that much of the success of a photoshoot comes from the careful planning that happens before you even pick up a camera. Successful portrait sessions should be well-organized, with an idea or concept, a comfortable subject in the photo, and all the right gear. As you learn the basics of portrait photography, try out these tips before your portrait session:
Research Your Subject
In order to get the best portraits possible, you’ll want to make sure you can quickly establish some rapport with your subject. If the person you’re photographing feels uncomfortable, it’s unlikely they’ll be satisfied with the photo later on. No one likes a photo of themselves that looks unnatural or posed.
Instead, take the time to get to know who you’ll be taking photos of. Find out a bit about them, including their interests and why they are having you take their photo. Get an idea of how they will respond to you providing them with instructions and directions during the session. If they have an idea or a concept behind the portraits (e.g. professional headshot for LinkedIn, family portrait for a holiday card, or just for fun), learn about the idea so you’ll be able to incorporate as much of their vision into the finished product as possible. Your job is to do enough research so that when it comes time to taking the portrait, you’ll be able to make them feel comfortable and give them a final product they’re excited about.
Establish the Concept or “Story”
Once you get a sense of the subject you’re planning to shoot, the next step is to think through the concept or the story that you plan to tell with your images. This doesn’t have to be a complex process but should have some consideration before you pick up the camera. The lighting, background, and composition of the photos may be different depending on the story you’re trying to tell with your photos.
As an example, if you’re taking portraits of a newborn baby you’re likely to choose to shoot portraits in a studio with props and lighting to convey a soft and delicate mood. If you’re taking portraits of a toddler, you might choose to incorporate brighter lighting, an outdoor setting, movement, or an activity like blowing bubbles or flying a kite. These concepts will all be different from say, engagement portraits, wedding portraits, or professional headshots. Know your subject and then establish the story you plan to tell. It will guide the next set of decisions you make before the session.
Background Set Up
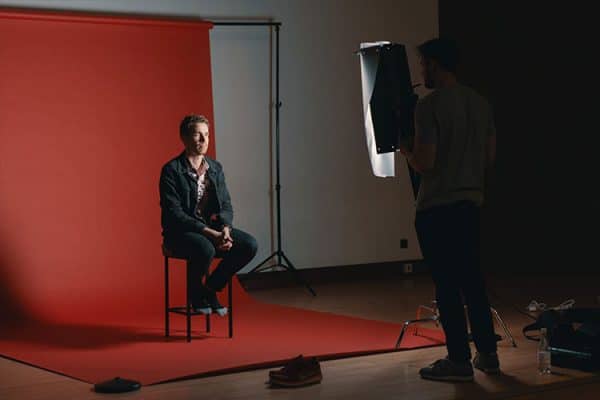
Once you’ve decided on a concept for the portraits, the first step is to choose a location and a background for your portraits. It’s up to you to decide if it’s better to shoot inside or outside, better to shoot with ambient light near a window or studio lighting equipment. If you decide to shoot outdoors, you’ll want to consider the time of day you plan to shoot in that location to enhance the natural lighting as much as possible.
Beginning portrait photographers should know there are no right or wrong rules for backgrounds, only that they should always enhance your subject. Some good tips to follow when deciding on a background:
- Watch out for distractions. Location backgrounds can provide context (e.g. garden, backyard, city skyline) but they can also take away from the subject. Make sure if you’ve got a landscape behind the subject that it doesn’t take away from the portrait.
- Choose bright backgrounds outdoors. When shooting outdoors, you want to choose backgrounds that will match well when blurred behind a subject. Look for bright backgrounds like foliage, trees or flowers that allow some natural light behind it.
- Be careful with color choices. Bold colors and patterns can be great compliments to some portraits, but not always. Canvas, paper, or muslin backgrounds should match the subject’s features and their clothing choice whenever possible. Neutral tones and natural materials (wood, stone, brick, etc.) make for excellent backgrounds to propel a subject forward.
- Consider gray. Professional portrait photographers frequently choose to shoot with a gray background over other choices. Both black and white backgrounds can be difficult to achieve optimal lighting conditions. Gray offers more customization, doesn’t distract from the subject, and looks good with most skin tones.
Lighting Set-Up
Your final choices when setting up for a portrait session are related to lighting. You’ll want to make sure you choose your lighting well before your subject arrives. It’s a sure-fire way to make your subject impatient or less comfortable if they have to spend hours waiting for you to decide the perfect lighting set up.
If you plan to shoot outdoors, make sure that you’ve determined the best time of day to shoot in that location. If you plan to shoot indoors, determine if you’ll use a natural light source like from a window or doorway. You may also choose to shoot with studio lighting equipment, which means you’ll need to create your initial set-up before the subject arrives.
What to Do During A Portrait Session
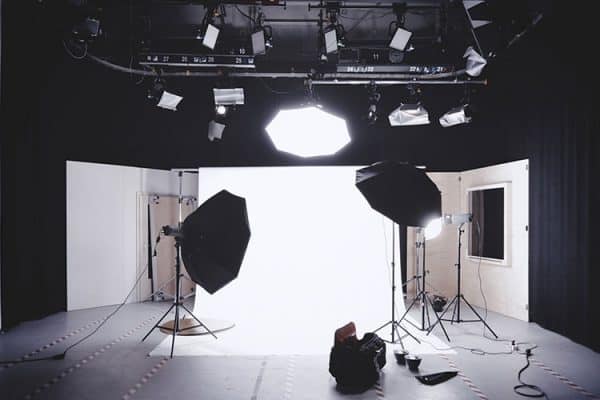
The day arrives and you’re ready for your portrait photography session. The next steps are to learn the best things to do during the session, including the best camera settings and the best tips for composition. Follow these basic steps to have a successful session and get the shots you want:
Shoot in RAW format.
This has been said a thousand times on photography websites, but it’s worth saying one more time. For the best post-processing, shoot all portraits in RAW format or RAW + JPEG format. Portraits often take more careful retouching and require you to get a consistent look or mood across several different images. RAW files allow you to better improve skin texture, adjust background lighting, and sharpen highlights like eyes and catchlights. You’ll get the best-finished product with RAW images and can always convert them to a different format later.
Follow a written outline, but watch for spontaneous moments.
In your pre-session research, more than likely you took some notes about the subject, the background, and the lighting set-up you plan to use. Many portrait photographers (especially at parties, family reunions, or events where you’ll shoot many different people) will create a written outline of the shots they need to take during the session. That way, you’ll be sure to get all the correct photos and no one will be left out of the finished product.
Once you’ve established some written notes, you’ll want to make sure that you also continue watching for spontaneous moments. Sometimes candid portraits convey a more powerful message than staged, formal ones. Watch your subjects between taking the photos on your written list to capture some unplanned portraits along the way.
Best Camera Settings for Portraits
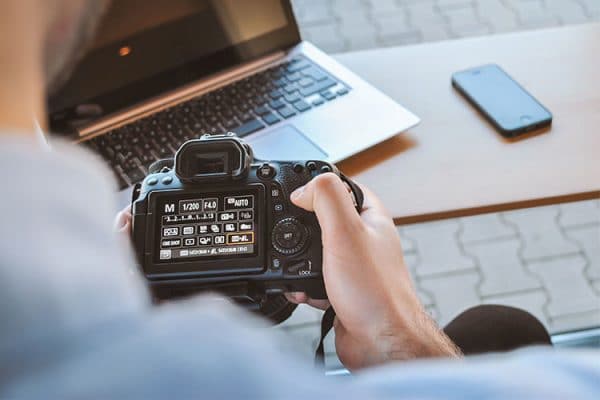
Best Camera Mode to Shoot In For Portraits – many photographers think you need to go into manual mode to shoot the best portraits. It’s not always the case. Many professional photographers choose to shoot in aperture priority mode, giving you control over the aperture (see below for suggested settings) but the camera will select the corresponding shutter speed. Then you simply need to monitor ISO and white balance for the lighting conditions.
Aperture – As mentioned above, many photographers select aperture priority mode for shooting portrait photography. When you shoot in this mode, the first thing you’ll want to consider is what you want to be in focus. For portraits, often a blurred background is best, so an aperture somewhere between f/1.4 to f/5.6 is necessary. By keeping this range in aperture settings in mind when you shoot, you’ll be able to experiment with a range of blurred backgrounds from a very shallow depth of field to some background elements in focus.
Many photographers start with f/2.8 and flex up or down from there. If there are multiple subjects in the photo like a family portrait, start around f/5.6 and flex up or down from that point. This gives the best chance of getting the entire group in focus.
ISO – The best ISO settings for portrait photography are similar to other types of photography. You always want to find the lowest ISO appropriate for the natural light available. The higher the ISO, the greater the chance for noise and grain in your images during post-processing. Test your camera out in different lighting conditions to determine where you’ll start to see grain in the photos, then stay as low as possible (ISO 100 or 200 if possible).
Watch White Balance – If you’re shooting on aperture priority, you should also monitor the white balance settings on your camera. Auto white balance is risky for portrait photography. If not correctly set in natural light, it can cause skin to look washed out and dull. It’s also unpredictable to use auto white balance settings when using an external flash. The white balance setting on your camera may not always communicate with a flash or speedlight. Consequently, the camera reads the light in the room before the shot causing the white balance to be distorted when the flash goes off.
To get the best white balance, in the research phase of your portrait planning, spend some time looking through the white balance presets in your camera. In some cases, one of these preset white balance settings will match the natural lighting conditions of your studio or outdoor setting. In other cases, you may need to set a ‘custom’ white balance, creating the perfect conditions for your location.
Best Composition Tips To Take Better Portraits
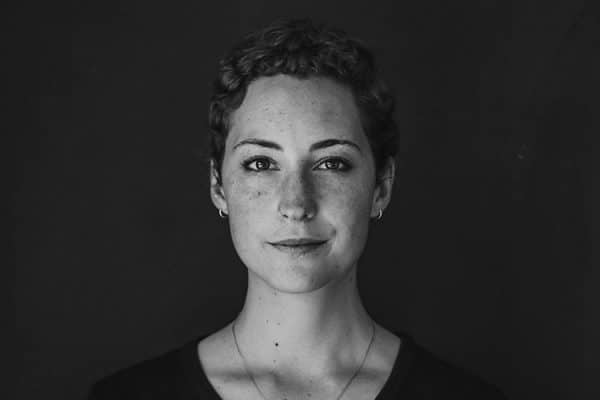
Now that you know the camera settings to use during a portrait session, you’ll want to learn the basics of good portrait composition. Portraits don’t just need to be subject in the center of the frame, blurred background. Follow these tips to take better portraits.
Make your subject comfortable. As mentioned above, it’s good to do some research on your subject before you start shooting. Then, as part of the composition of the photo, use what you learned to make the subject more comfortable. If you get the sense that they’re nervous about water or heights, don’t compose a photo on a balcony or bridge. If you’re working with a pet, start by building rapport and then compose the photo. You’re more likely to get a better shot if you take the time upfront put your subject at ease.
Take your time. Don’t rush. Sometimes beginning photographers feel like because there’s a subject waiting for his or her photo to be taken that you need to hurry. Taking the time to set up good composition, check your settings, and take a good photo the first time is important. It takes time to get settings and composition just right. Trust that your subject will wait, especially if you’ve already worked to make them comfortable.
Completely fill the frame. If your subject is the center of attention in your portrait, try to fill the frame with that subject. Use The Rule of Thirds, and try to place the subjects eye’s in the upper third of the frame while still filling the frame with the subject.
Change angles, move closer and farther away. Don’t be afraid to move around in a portrait session. Some of the best portraits are shot from different angles than head-on. Try to adjust the perspective while your subject remains in the same place. Move closer or farther away from the subject. Doing so can help create a different story with your image.
Focus on the Eyes (and Catchlights). One of the secrets of memorable portrait photography is capturing the subject’s eyes in the best possible light. Tack-sharp focus on the eyes can create compelling and powerful images and should be a goal of any beginning portrait photographer. So should catchlights, those tiny flecks of light reflection that illuminate a subject’s eyes. Learning how to create and use catchlights in your images are some of the most important skills beginners need to know.
Tips for Outdoor Portraits
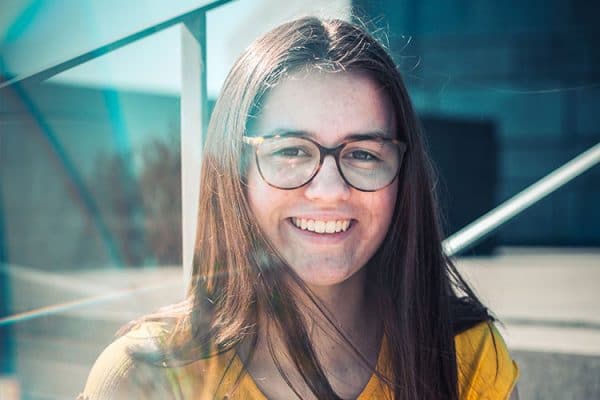
If you know that you’ll be shooting many of your portraits outdoors, it’s important to learn a few key tips about the lighting and equipment needed to take successful photos. Check out these tips for any beginner taking outdoor portraits:
Outdoor Lighting Considerations
Unlike studio lighting where the options for configurations are seemingly endless, portability and versatility are the most important considerations for outdoor portraits. You’ll want to be prepared for as many lighting situations as possible, including dim or shaded lighting, or bright, full sun.
To get the most out of your outdoor portrait photos a few of the lighting tools you’ll want to have in your toolkit: a powerful Speedlite or similar flash option, a collapsible light modifier like an umbrella or softbox, and a back-up battery pack ( to handle the extra flash). It may also be worth investing in reflectors or a scrim to get the perfect appearance of natural light.
The Golden Hour
Experienced photographers find that there some times of day are better than others for taking outdoor photos. Called the “golden hour,” it’s best to shoot outdoor portraits in the few hours right after sunrise or the few hours right before sunset. The golden hour is best for shooting because the sun is lower in the sky and tends to be softer.
Unfortunately, those are not always the best hours for photography subjects. Coming as close to the golden hour as possible, finding shade, and then using lighting modifiers like umbrellas and scrims can help ease the bright sunshine or flat light of a cloudy day.
Watch for background noise
When shooting outdoors, it’s especially important to watch and control background distractions. Errant road signs. Power lines dividing an image in two. Trees growing out of the subject’s head. These are all a possibility in outdoor portraits and need to be carefully controlled.
After A Portrait Photography Session
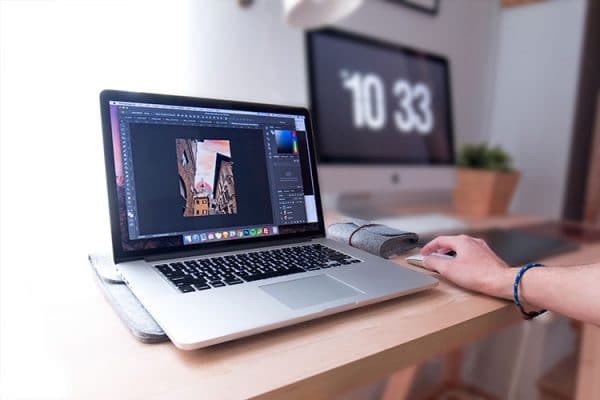
Before you wrap up your first portrait session, you’ll want to make sure you’re prepared for post-processing. In some ways, what happens after you take your photos can be just as important as what you did while shooting. Take a few minutes and learn about these essential skills for after your portrait photography session:
Back up your photos. We only write it here because it happens to every photographer at least once. You’re thrilled about the amazing images on your memory card only to have them disappear when you go back for them later. Creating a back-up of your photos using cloud storage or an external drive is not only smart, it’s essential to ensure you always have the original images available to work with. Get in the habit of backing images up immediately after your shoot using the same process every time.
Learn good editing basics. There are thousands of resources to teach beginners the basics of good photography editing. When it comes to editing portraits, there are some important tools you’ll want to know in post-processing. Learning how to do things like crop out empty space, adjust white balance, and effectively re-touch and smooth skin can make a big difference in creating a polished finished product.
Know when to use black and white. Black and white portraits have been a staple of photography since the beginning of film. There continues to be power and meaning behind black and white images, especially when used with carefully planned lighting and angles. While it’s possible to convert images to black and white in post-processing if you plan to use it as a staple in your portraits, make sure you plan ahead. You’ll get better results with lighting and shadows by shooting in black and white mode in mind.
Related Questions
What brand of camera and lenses are the best for portraits?
The Canon vs. Nikon debate has been raging in the camera world for decades. Rumors about Canon being better for portraits and Nikon better for landscape occur almost as often as rumors claiming the exact opposite. If you ask an experienced photographer or camera dealer, they should tell you the one thing that can be said about popular camera brands: there are pro’s and con’s to each.
Each camera model and each lens has pro’s and con’s at each different price range. The technology has improved When it comes to taking portraits, you’ll want to decide your budget and purchase the highest quality equipment in that price range.
What are the most popular Nikon and Canon lenses for portraits?
Nikon and Canon continue to produce some of the most popular and trusted portrait photography lenses on the market. They offer similar selections and some custom options you may want to consider for your camera bag. Here are Canon and Nikon’s most popular portrait lenses:
Canon:
Canon EF 50 mm f/1.8 STM – Check price on Amazon
Canon EF 85 mm f/1.8 USM – Check price on Amazon
Canon EF 135 mm f/2L USM – Check price on Amazon
Canon EF 24-70 mm f/2.8 II USM – Check price on Amazon
Nikon:
AF NIKKOR 50 mm f/1.8D – Check price on Amazon
AF-S NIKKOR 85 mm f/1.8 G – Check price on Amazon
AF DC-NIKKOR 135mm f/2D – Check price on Amazon
AF-S NIKKOR 24-70 mm f/2.8G ED – Check price on Amazon
